Hello Lovelies!!
This post is on the shorter side, but I want to share with you all one of my favorite hacks for fall decor!! I like to keep my decor minimal and versatile for all seasons, so these decorated pumpkins are the cutest addition to any space!
What You Will Need
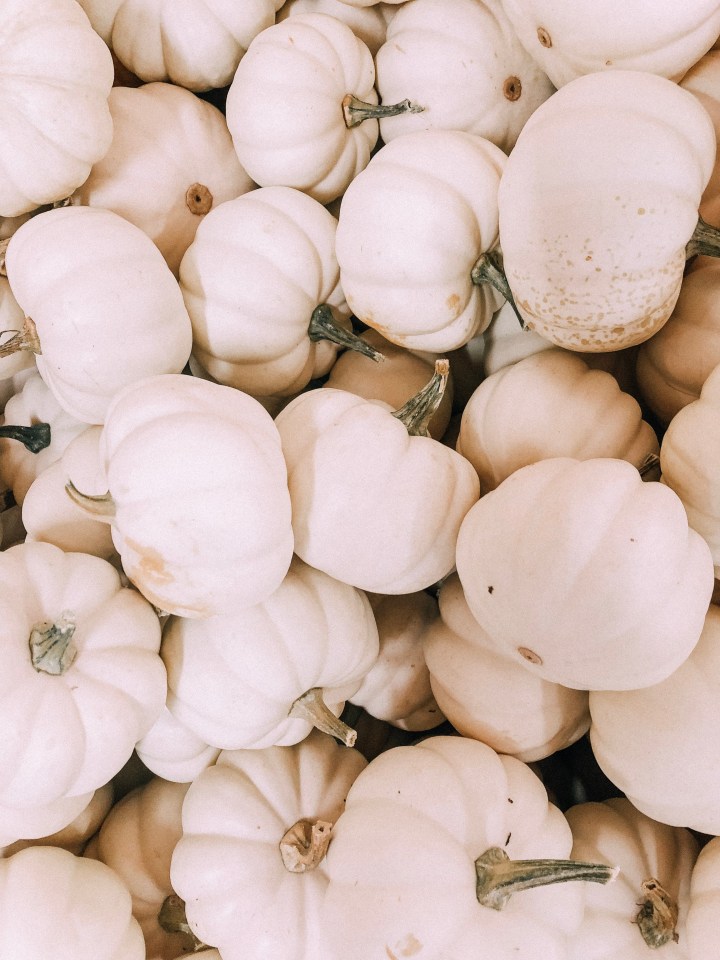
Six (or more) white pumpkins of any size
1 black Sharpie marker or paint pen
1 gold Sharpie marker or paint pen
1 silver Sharpie marker or paint pen
1 colorful (I chose plum) Sharpie marker or paint pen
and that’s it!

Making Your Pumpkins
Above are my finished pumpkins, and all you need to do is create simple, uniform designs that fit the natural shape of each pumpkin! Also, you will likely need more than one paint pen as mine ran out quickly.
As far as instructions on creating these designs I mainly recommend just free-hand drawing as you go. I created uniform drawings starting from the top of the pumpkin and working down; two pumpkins are single color and the others use two colors. My favorites are probably the pink/plum single color and the black/gold multicolor!

So once I had my completed pumpkins all together I placed them in this tin box to stick them by our door! And that’s it! This is honestly the easiest DIY craft I have tried – as I do not have to paint the entire pumpkin and the paint pens allow for artistic freedom!
Hope you all enjoyed this super short blog post!
xx,
A